
Press, Radio and TV
April 15, 2025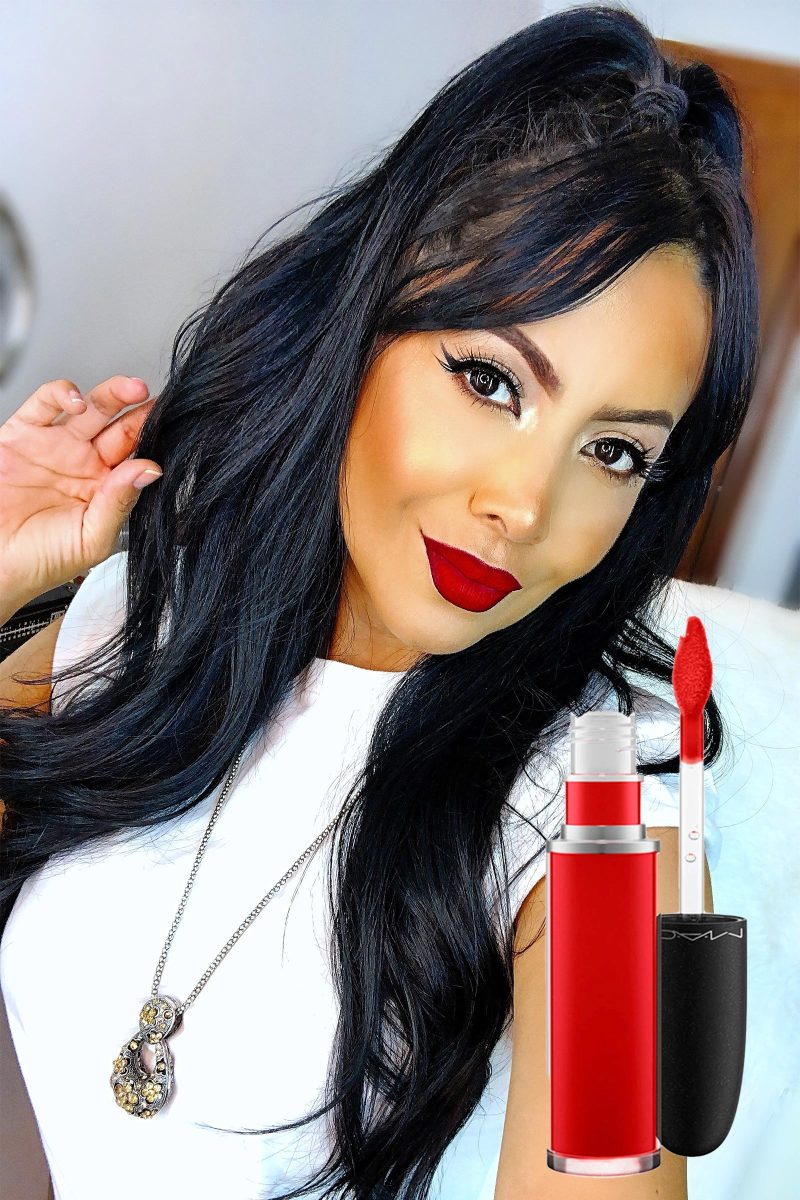
Today, in this very first post, I want to talk to you about something that many of us are passionate about—just like its color… lipstick—how we use it and how long it actually lasts.
Have you ever stepped out with your favorite lipstick on, only to find it’s gone before you even finish your coffee? Yep, it’s a struggle we’ve all faced at some point. But… why does it happen? Is it the brand? The texture? The color? Let me tell you, the number one reason lipstick doesn’t last is: our own habits. Yes—anxiety and movement! When we walk, talk, eat… all these involve gestures that wear it down.
If you were that kid who used to bite your lips, chew your nails, or constantly touch your face—welcome to the club of women whose lipstick never stays put!
These habits lead to unconscious movements and gestures that make our gloss disappear without us even realizing it, leaving us wondering “What happened?!”
But don’t worry—for all of you out there who bite your lips (I bet some of you are doing it right now while reading this, lol)—thanks to new makeup tech and our beauty obsession, we now have ways to make that lipstick last for hours (yes, hours), as long as you follow these tips:
1. Exfoliate and prep:
Before applying lipstick or gloss, gently scrub your lips with a lip exfoliator and rinse. Then apply a clear gloss and leave it on while you do the rest of your makeup.
2. Prime your lips:
Once you’re done with your makeup, wipe off the gloss with a tissue and apply a lip primer. You can even use a bit of loose powder or your regular face foundation to prep the area.
3. Define with liner:
Line your lips with a soft pencil that’s slightly darker than your lipstick. Go a bit outside your natural lip line for a fuller “Angelina Jolie” effect. Fill in slightly with the same pencil and blend it out with a small brush.
4. Add depth and hydration:
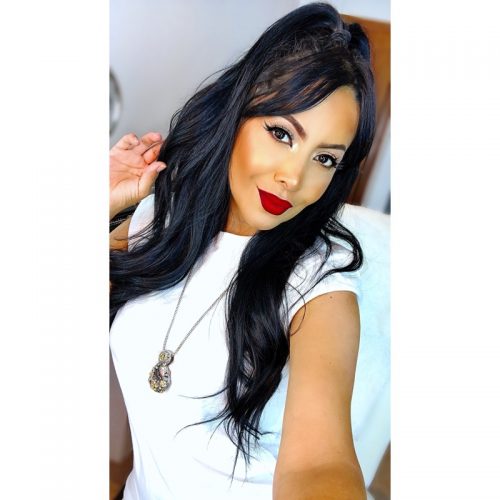
If you want that intense red like I’m wearing—and a matte finish (my fave because it really lasts)—apply a tiny drop of liquid gloss first. It helps your lips absorb the matte color better and adds hydration.
5. Apply your matte lipstick:
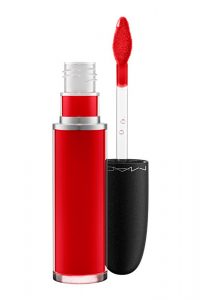
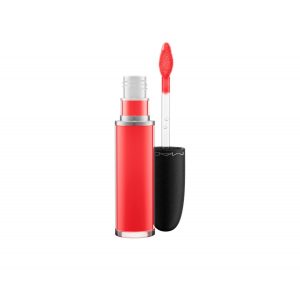
Use one or two shades of red if you like dimension. I used “Dance With Me” (a matte red by MAC) as my base.
6. Create a subtle ombré:
Once that layer is dry, go in with your favorite red—I chose “Feel So Grand”, a vibrant red that truly sets your lips on fire. I love the finish—it gives your lips that extra punch without looking overdone. For a soft ombré, apply this shade to the center of your lips and blend with your fingertip or a brush. Personally, I prefer my fingertip—the warmth helps spread the product evenly and makes it look more natural.
So, what do matte lipsticks have going for them?
Everything. Passion, color, long wear. They don’t smudge while eating, they don’t come off when you kiss—and the bold, eye-catching color? It’ll turn heads wherever you go. They range between $25–$35, but trust me—it’s a long-term investment you’ll love.
Now you know how to make your matte lipsticks last and how to create a gorgeous red ombré effect… bring that passion to your lips!
See you in the next post—and if you liked this one, drop a comment and share it!
Big hugs to all of you! xoxo
Nat